Friday, September 30, 2011

Image Transfer on Resin Clay


While reading the Handcrafted Jewelry 2011 magazine, I came across a tutorial by Linda Larsen for easily transferring an image to wet resin clay. I also found the tutorial described on this Objects and Elements blog. Of course I was completely intrigued and wanted to try it using my Aves Studio Fixit (though there is some overlap, this is a slightly different formula than Aves Apoxie Clay).

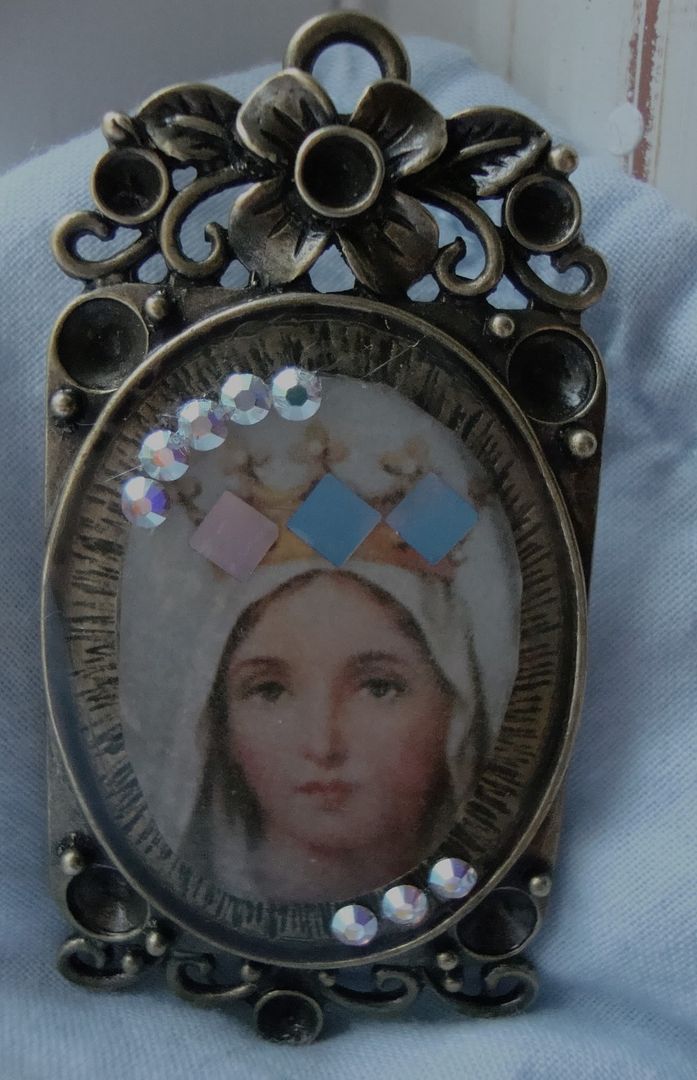
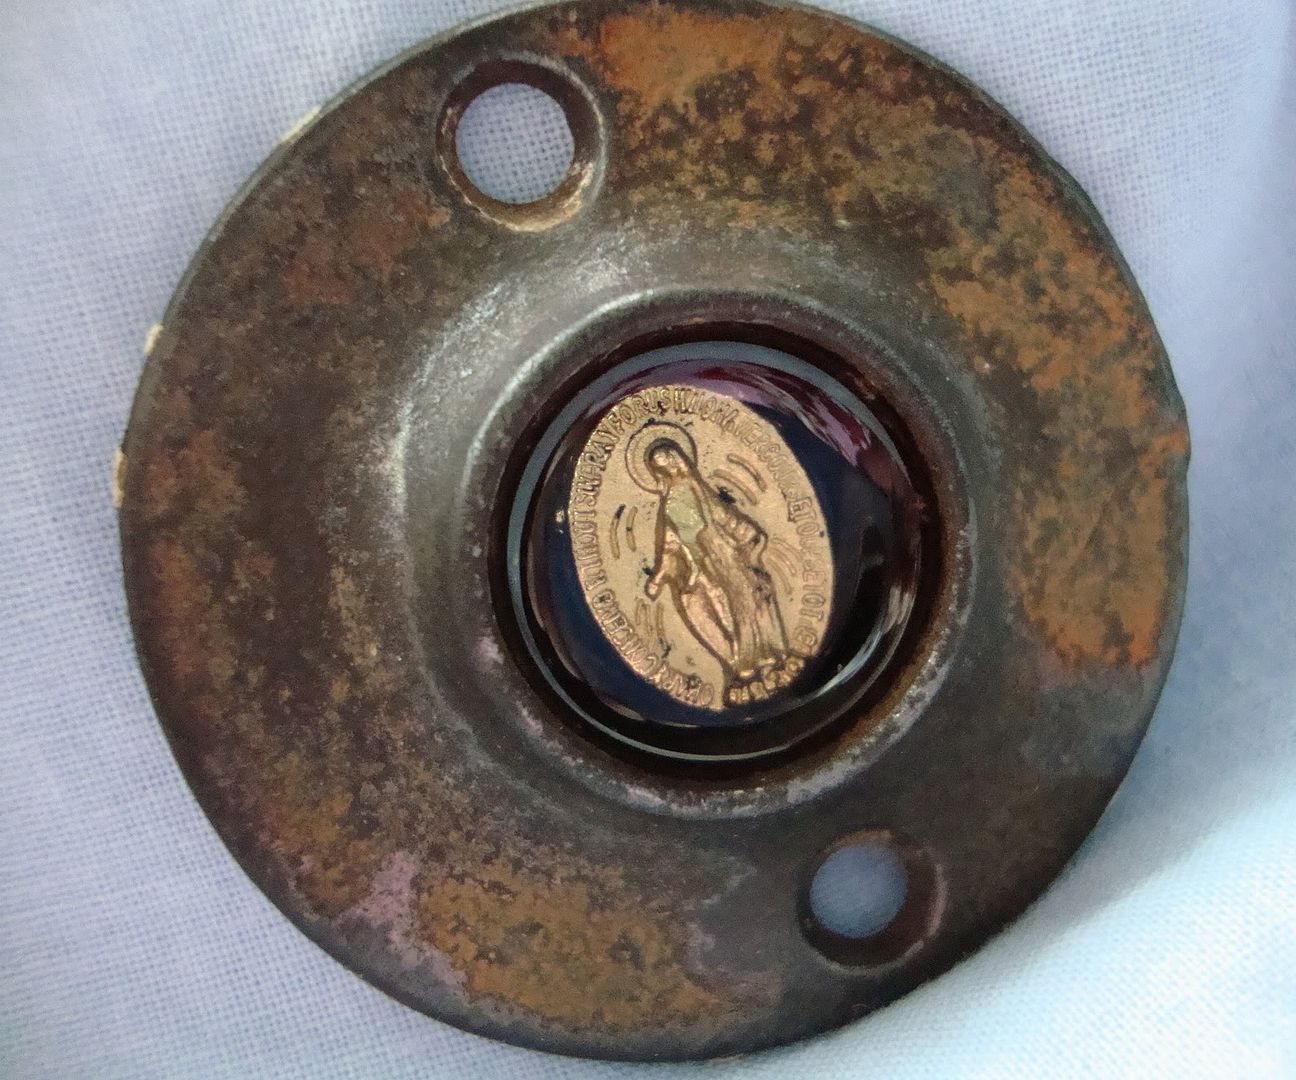
I mixed a small amount of the Fixit, and placed it into a square mold. Following the instructions for transferring the image, I first printed out a copy of an antique Holy Card with my inkjet printer on regular printing paper.


I cut the image to size. I then made sure to smooth some water onto the clay surface so it would be wet and then smoothed the printed image face down onto the surface.

I am now letting the clay dry for 3-4 hours before I try and remove the image and see if it transfers. Do y’all think it will work? Come back later today to see part two!

Monday, September 26, 2011

Spiritual Art Journaling


I have hit the “pause” button on creating jewelry pieces. I am waiting to pour my creative energy into the Build Zone workshop in another week, where I will be learning some more advanced jewelry making techniques I want to use in future designs.

In the meantime, my curiosity has been piqued by a podcast with Dana Reynolds I listened to about accessing the spiritual/God-driven aspects of your creativity. The idea is to open yourself to the ways the divine works through you as you create. As part of this process, I have been keeping a spiritual art journal of what Dana Reynolds calls, “visual prayer.”
In the meantime, my curiosity has been piqued


Here is a glimpse at one of my journal pages. This process allows me to easily get caught up in creating and completely lose track of time. This is both a good and bad thing, depending on the other demands of my day!

Tuesday, September 20, 2011

Design Table Tuesday

On my design table today is resin. Lately, this clear liquid of the craft gods has been calling my name. I especially like the way you can layer with it. I am still trying to figure out the best way to use good quality, “chunky” glitter, which I have seen in books and magazines and like. Yet, when I use it, I cannot get it to look professional enough. Instead, it looks sort of like I just got out of preschool.


Speaking of resin, I just received a copy of Jen Cushman’s award-winning book, Explore, Create, Resinate. I am so looking forward to reading this! Look for my review soon. I have also been eating up podcasts from both Rice Freeman-Zachary’s Notes from the Voodoo Lounge, and Art and Soul Radio. I have found these to be very interesting and inspiring to listen to,

And, be sure and check out Deryn Mentock’s generous tuition giveaway for her Build Zone workshop. It is posted on the Create Mixed Media website. Hmmm- only one week and four days until the workshop begins! Do I seem excited?

Thursday, September 15, 2011

Everything in its Place

Over the summer, I moved all my mixed media items onto one pantry shelf in our kitchen. Since my son was home from school, this allowed me to work on projects between doing various things with him. I also wanted to test whether, with my addition of resin and Apoxie, I needed to work near the kitchen sink since there is no sink in my studio space upstairs.

The Build Zone  workshop I am enrolled in begins on October 1, and there is an accompanying supply list. Some of the supplies I had on hand, but others I had to purchase. As they arrived, I began to feel disorganized.

One thing I love about my new Lazy Susan tool caddy is that it matches our shelves!
Beyond basic hammering, coiling, and making jump rings, I have not done a huge amount of metal work so my previous collection of wire or metal work type supplies only took up a tiny amount of room in a small caddy. I have avoided drilling and soldering and have subsisted with only a rubber mallet for hammering/hardening metal.

 The majority of my mixed media supplies fit in this cabinet. 
I also came to the realization that it is easier to have all my supplies in one room. Otherwise, I have to run upstairs or downstairs every time I want something. I determined that I needed one area in my studio for my mixed media supplies and another area for the metal work supplies.


I tend to work standing up, and I also wanted a counter height surface that I could solder on. I discovered this microwave cart at Target. I like that it is metal, not plastic, so it won’t melt from a soldering mishap. Though I will be using a ceramic tile with a soldering block on top to protect my work surface, I covered the top with aluminum foil just in case.


Hopefully there will be much inspiration in my new space!

Monday, September 12, 2011

My SIster-in-Law Opened her Etsy Shop! Midwest Maude Etsy Shop!

Please check out her beautiful designs!

midwestmaude: Midwest Maude Etsy Shop!: My little Etsy shop is finally open! I am super excited and I really can't believe this day has come. It has been over two years in the mak...

Friday, September 9, 2011

Bezel Madness


For some reason, I have become obsessed with crafting bezels. Surely, I could focus just a bit on the rest of the necklace as well? Well, truth be told, I am sort of holding off to see what I learn in my Build Zone workshop and see if I want to apply those new skills to future pieces.

Antique mercury glass is now preserved in a resin heart, I also used an antique salt bowl as a bezel with an image from an antique book and a heart key.

Skills like the soldering I am terrified of! Last night I was worrying about which room of our home would be the least likely to erupt in flames while I am soldering. However, I will confess that I am equal parts excited about trying it out.


Today I have some Apoxie Fixit curing. I am excited because I am working on a Nicho pendant. (Yes, yes another pendant!). Nichos are a traditional Latin American form of folk art where religious and other spiritual items are displayed together in or on recessed shadow box often made of tin or wood, with a glass door that can open.+ I have seen some necklace versions of this here and there, and really wanted to make my own. 


+I got most of my history of Nichos information from Mexico Arts and Culture, by Leigh Ann WIlliams

Sunday, September 4, 2011

I Think I’ve Got it!!!


I finally think I got the hang of clear epoxy resin! And it took me only a month. I had to fill these both with a small amount of resin first to close their open backs and let that part cure. Trust me, this is not the easiest technique to learn. However, by my 500th time, I figured out better how to moderate the flow of resin with a craft stick. I also discovered that contact paper makes for a bit better sticky surface to hold the back closed than clear packing tape. At least for me!


I cut Mary’s face from a photocopy I made of a Holy card and added some flat backed crystals to her crown before I covered her with more resin. I added additional tiny crystals to the outside, but am not certain she really needed it- I just love lots of sparkle! I really like the way she came out and I’m considering using her as my focal pendant for my Build Zone Workshop with Deryn Mentock, that I blogged about earlier. 


My other piece got its start as an antique piece of hardware from a 19th C. house. I made it into a bezel, adding the bright gold Medal. I like this a lot too, and can see it paired with some copper wire perhaps because of the rust tones to it.


I am also excited that my Aves Studio Fixit resin clay arrived! I have been eagerly awaiting its delivery. Now I can start playing with it again.